Uninstall guide
It is a bit more complicated because the Screen Recording permissions are “sticky”, and so there is an additional script to remove that residue. In the case of reinstalling a new version, the Screen Recording permissions from a previous installation will prevent the reinstalled version from working at all (despite showing it has the correct permissions)
Uninstalling
Step 1: Run uninstall script
If you don’t have it from the previous zip, then download a new zip, which will include the uninstall.sh script.
Right click the uninstall.sh script, choose Open With, then choose iterm.
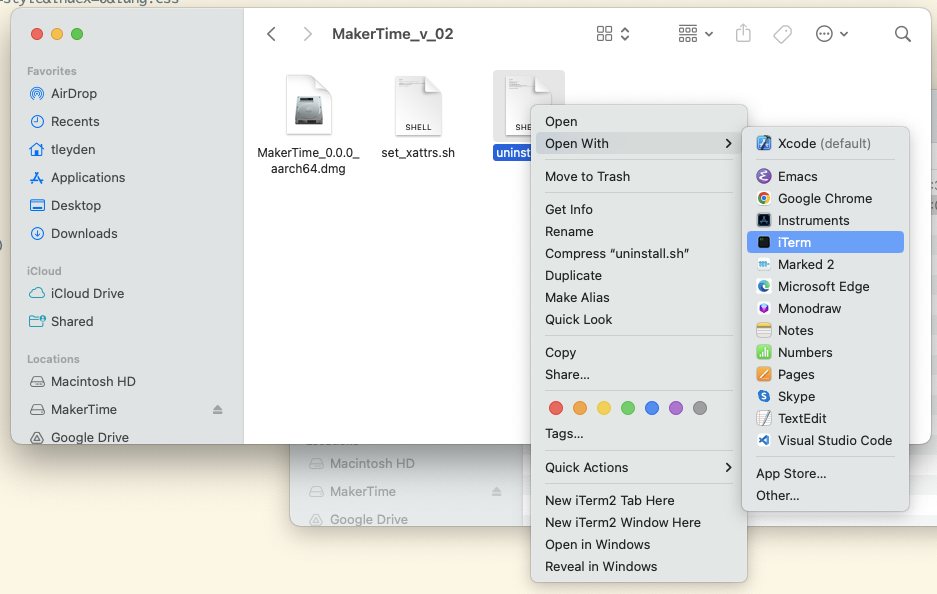
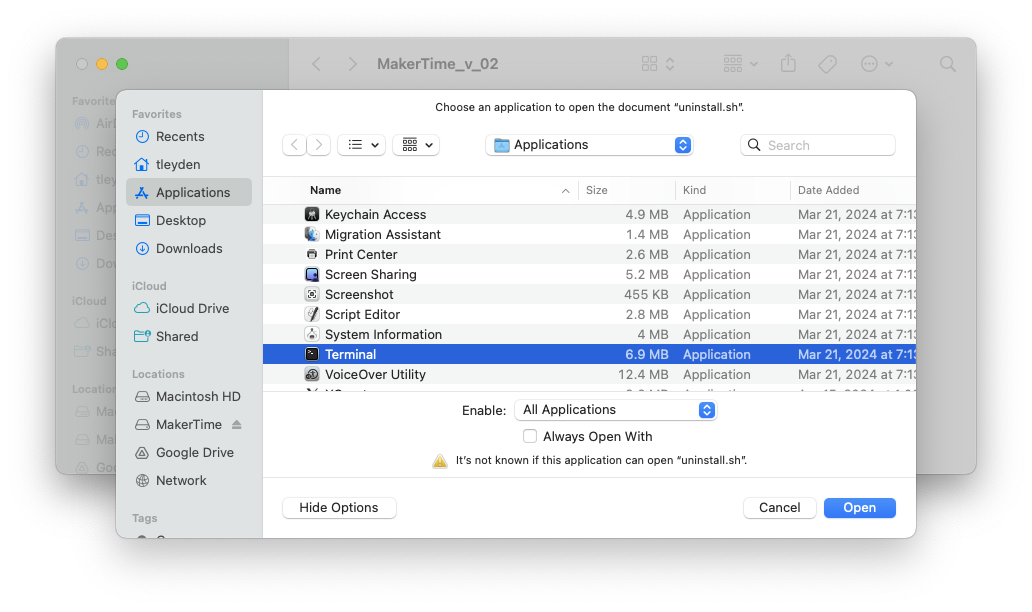
If you don’t have iterm, you can choose Other and Utilities/Terminal instead, but just make sure it’s showing “All Applictions” rather than just “Recommended Applications”
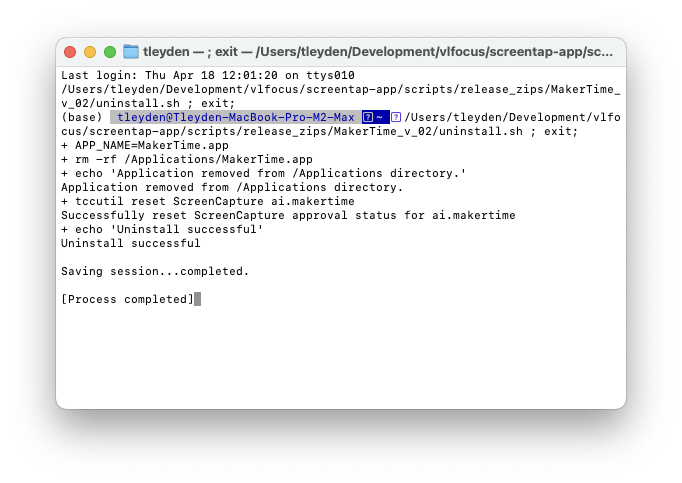
You should see a terminal window popup that looks something like this:
Step 2 (optional): 🚨 Purging data
If you want to permantently purge (delete) all your data as part of an uninstall, perform the following steps:
- Open Finder: Click on the Finder icon in your dock to open a new Finder window.
- Open the Go Menu: In the menu bar at the top of the screen, click Go.
- Select ‘Go to Folder’: From the dropdown menu, choose Go to Folder… or press Shift + Command + G on your keyboard.
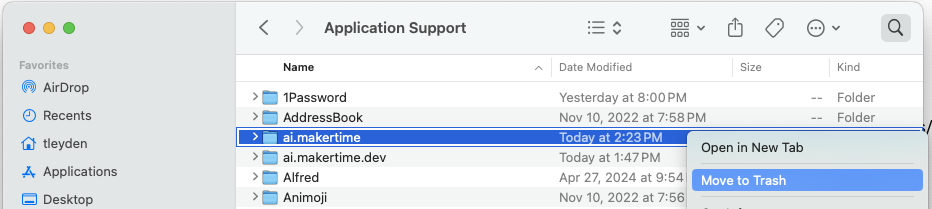
- Enter Path: Type in ~/Library/Application Support and press Enter. This will take you directly to the Application Support directory inside your Library.
- Right-click the
ai.makertimedirectory, and choose Move to Trash (see screenshot below)
Reinstalling
If you are uninstalling, you are finished.
If you are reinstalling, first uninstall as described above, then continue with the installation instructions, with the difference being that you can skip Step 7: Customize configuration and later steps, since that will all carry over from the previous installation.